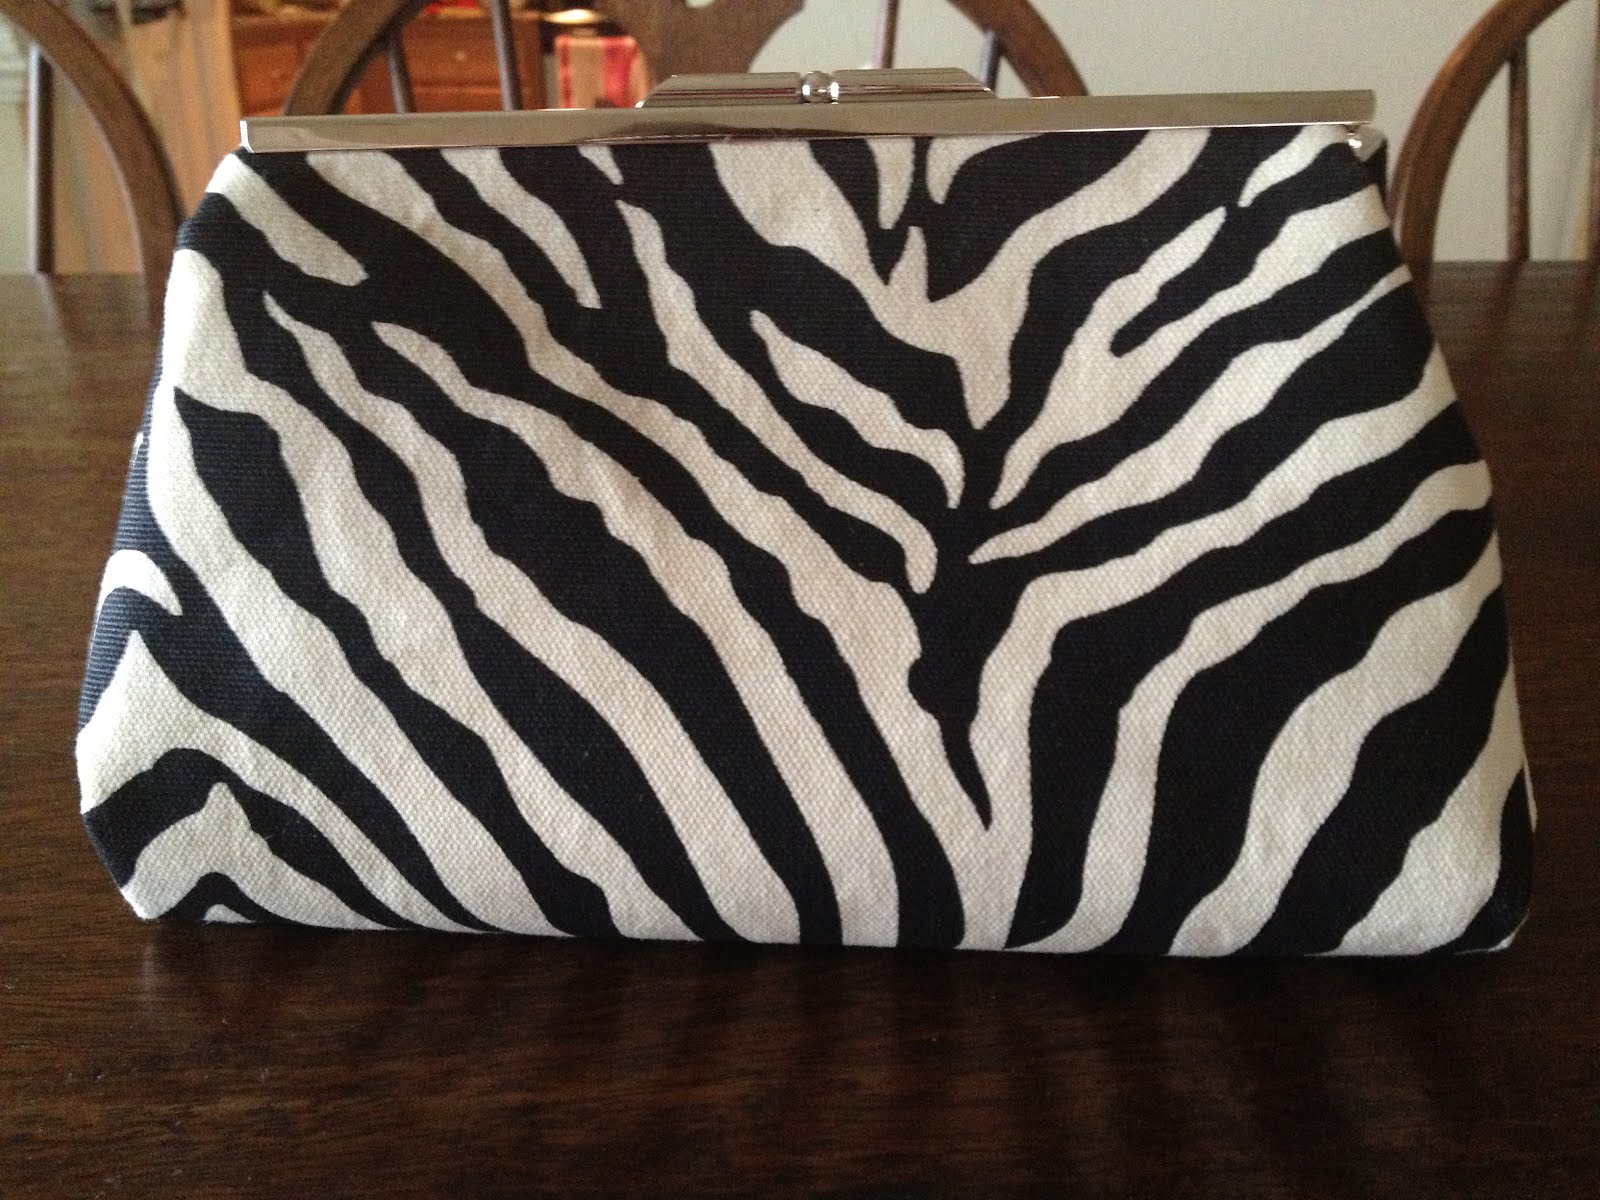
I saw this clutch pattern on Martha Stewart's website and knew I had to make it! This clutch is the perfect size for all of the essentials and it really is simple to make! The clasps are sold on Esty by Robin Grawunder, the creator of the pattern.
Materials:
Decorative fabric for outside of clutch
Fabric for lining
Coordinating machine-sewing thread
Heavyweight fusible stabilizer (Pellon 808 Craft-Fuse) Fusible fleece (Pellon TP971F Thermolan Plus Fusible Fleece)
Iron Sewing Machine
Scotch tape
Craft Glue (I used GOOP brand that was recommended for fabric and metal)
Clutch clasp

Instructions:
1. Cut 13-by-13 1/2-inch pieces from outer fabric, lining fabric, and heavyweight fusible stabilizer (trim stabilizer 1/8" smaller than the outer and lining fabric). Cut a 10 1/2-by-13-inch piece of fusible fleece. With an iron, fuse heavyweight stabilizer to wrong side of outer fabric, then fuse fleece to center of stabilized side of fabric, following the manufacturer's instructions.
2. With right sides of outer and lining fabrics together, sew 1/2-inch seams along both longer 13 1/2-inch edges.

3. Turn sewn pieces so right sides are facing out, and press seams flat.
4. Fold in half, matching seams at top, with lining on inside. (Use jumbo paper clips instead of pins to keep the top lined up!) Sew a 1/4-inch seam on outside raw edges, then trim seam allowances to 1/8 inch and snip in at the corners. Turn again, so outside fabric is on the inside. Sew 1/4-inch seam along edges, creating a finished French seam, then turn right side out. (This part is a little tricky, I suggest you watch the video listed on the Martha Stewart website to get a better idea of how to do this part!

5. Fold corners down; mark and sew a 2-inch gusset on each. Trim 1/8" off the corner. Turn again so lining faces out; sew a 1/4-inch seam along gussets to finish seams. Turn right side out one last time.

6. Line up the frame and place a piece of painter's tape on each end of where the frame ends, that way when you go to glue the frame you'll know exactly where it should go. Apply a bead of fabric glue to metal frame. Center over top seam, carefully insert fabric in metal frame, and secure in place with tape. Allow glue to set for several hours.
7. Remove tape, tuck outside corners behind frame, and snap closed.
7. Remove tape, tuck outside corners behind frame, and snap closed.
No comments:
Post a Comment